Welcome to Network Tech Blog, your go-to resource for all things related to networking technology! Today, we’re diving into the process of setting up a TP-Link Wi-Fi router. Whether you’re a seasoned tech enthusiast or a complete novice, this guide will walk you through each step to ensure your home network is up and running smoothly. Additionally, we’ll touch on how to reset a TP-Link WiFi range extender, a handy tip if you’re troubleshooting network issues.
Why Choose TP-Link?
TP-Link is renowned for its reliable and affordable networking equipment. Their routers are user-friendly, feature-rich, and provide robust performance for both home and small office networks. Setting up a TP-Link router is straightforward, thanks to their intuitive web interface and mobile app support.
Steps to Set Up Your TP-Link Wi-Fi Router
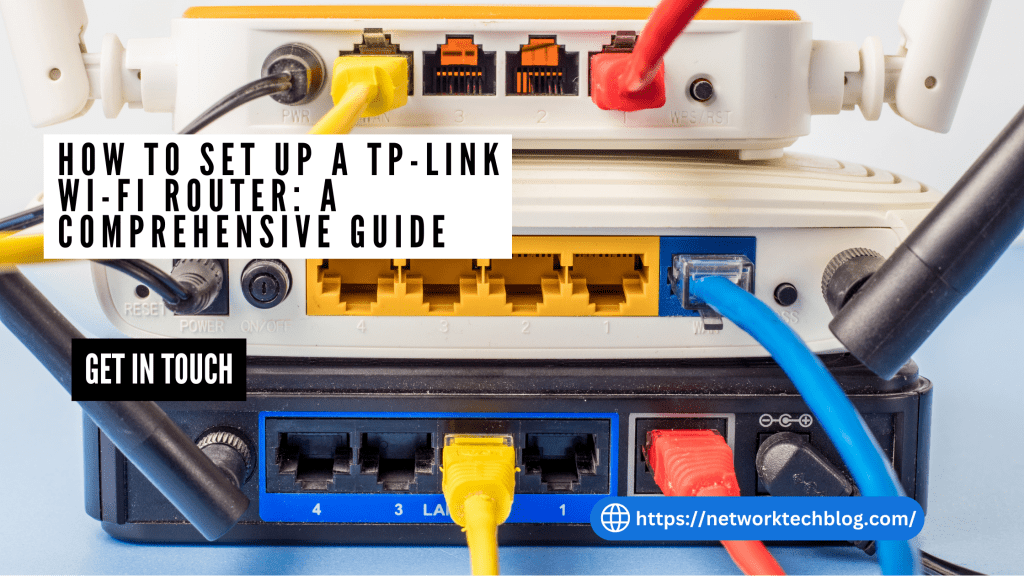
1. Unbox and Connect Your Router
First, unbox your TP-Link router and ensure you have all the components: the router itself, a power adapter, an Ethernet cable, and a quick installation guide.
- Connect the router to the modem: Use the Ethernet cable to connect the router’s WAN port to the modem’s LAN port.
- Power up the router: Plug the power adapter into the router and an electrical outlet. Press the power button if it doesn’t turn on automatically.
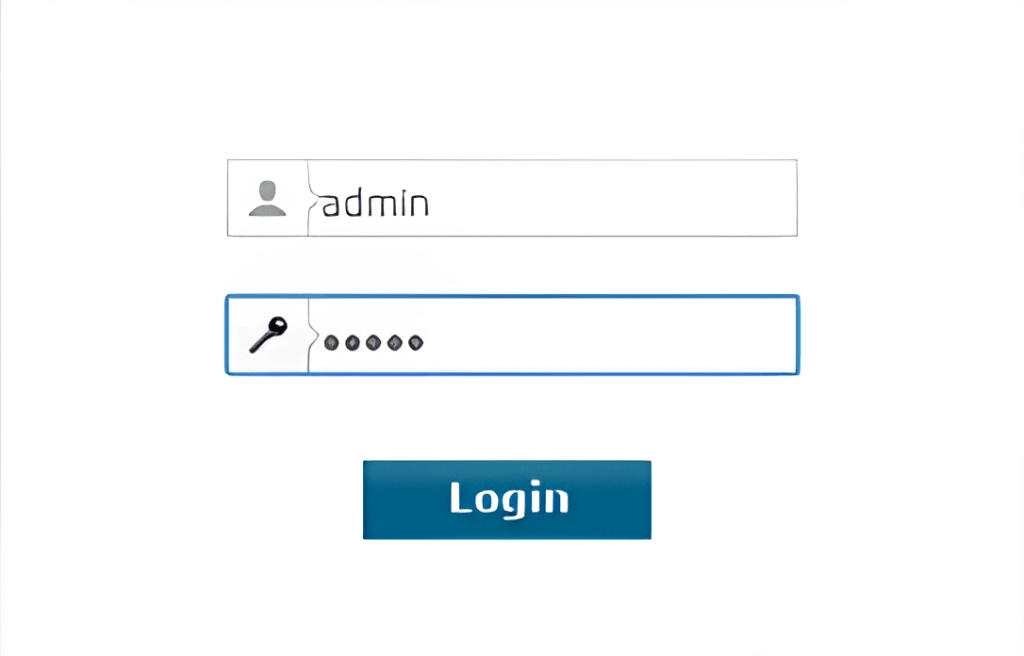
2. Access the Router’s Web Interface
To configure the router, you need to access its web interface.
- Connect your computer or smartphone: You can connect via an Ethernet cable or Wi-Fi. For Wi-Fi, use the default SSID and password printed on the router’s label.
- Open a web browser: Launch your preferred web browser (Chrome, Firefox, Safari, etc.).
- Log in: Use the default credentials (usually admin/admin) to log in. It’s crucial to change these credentials after the initial setup for security purposes.
3. Run the Quick Setup Wizard
TP-Link routers come with a Quick Setup Wizard that simplifies the configuration process.
- Select your time zone.
- Choose your connection type: Most ISPs use Dynamic IP (DHCP), but if you’re using PPPoE, Static IP, or other types, enter the necessary details provided by your ISP.
- Set up your wireless network: Configure your SSID (network name) and password. Ensure the password is strong to secure your network.
4. Confirm and Save Your Settings
After completing the Quick Setup Wizard:
- Review your settings.
- Save and reboot the router if prompted.
5. Test Your Connection
Ensure your devices can connect to the new network and access the internet. If everything works correctly, you’ve successfully set up your TP-Link Wi-Fi router!
How to Reset a TP-Link WiFi Range Extender
If you’re experiencing issues with your TP-Link WiFi range extender, resetting it can often resolve the problem. Here’s how to reset a TP-Link WiFi range extender:
Steps to Reset a TP-Link Extender
- Locate the reset button: Usually found on the side or bottom of the extender.
- Press and hold the reset button: Use a pin or paperclip to hold the button for about 10 seconds until the LED lights blink. This indicates the extender is resetting.
- Reconfigure the extender: After resetting, you’ll need to set up the extender again. Connect it to your main router using the WPS button or through the web interface, similar to the initial setup process.
When to Reset Your Extender
- If you’re unable to connect to the extender’s network.
- If the extender’s performance is inconsistent.
- When you need to connect the extender to a new router or change network settings.
Read more – Reset a TP-Link Wifi range extender
Conclusion
Setting up a TP-Link Wi-Fi router is a simple process that can significantly improve your home network’s performance. Following the steps outlined above ensures a smooth installation and reliable internet connection. Additionally, knowing how to reset a TP-Link WiFi range extender can save you time and frustration when troubleshooting connectivity issues.
Stay tuned to Network Tech Blog for more tips, guides, and updates on the latest in networking technology. Happy networking!


Leave a comment