Setting up your Wavlink AC1200 manual can enhance your home or office network with improved Wi-Fi coverage and performance. This guide will walk you through the process step-by-step, ensuring that you get the most out of your Wavlink AC1200.
Step 1: Unboxing and Initial Setup
What’s in the Box?
When you open the box, you should find:
- Wavlink AC1200 Router
- Power Adapter
- Ethernet Cable
- Quick Installation Guide
Make sure all these items are present before proceeding with the setup.
Connect the Hardware
- Position the Router: Place your Wavlink AC1200 manual in a central location to maximize coverage.
- Connect the Antennas: If your model has external antennas, attach them securely.
- Power Up: Plug the power adapter into the router and then into a power outlet. Press the power button to turn it on.
- Connect to Your Modem: Use the provided Ethernet cable to connect the router’s WAN port to your modem.
Step 2: Initial Configuration
Access the Router’s Web Interface
- Connect to the Router: Use another Ethernet cable to connect your computer to one of the LAN ports on the router, or connect wirelessly using the default SSID and password printed on the router.
- Open a Web Browser: Enter http://wifi.wavlink.com or 192.168.10.1 in the address bar.
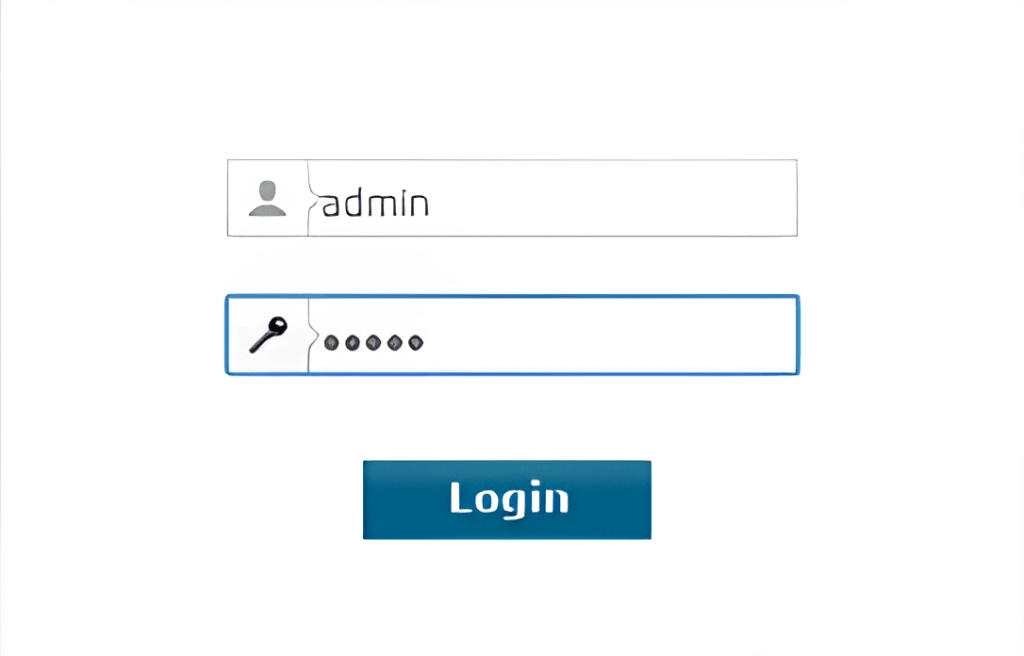
- Log In: Use the default username and password (both are typically “admin”). Refer to your Quick Installation Guide if this is different.
Run the Setup Wizard
- Launch the Setup Wizard: Once logged in, you’ll be prompted by the setup wizard.
- Select Your Internet Connection Type: Choose the appropriate option (e.g., DHCP, PPPoE, Static IP) based on your ISP’s requirements.
- Configure Wireless Settings:
- SSID: Change the default SSID to something unique and easily recognizable.
- Password: Set a strong password for your Wi-Fi network.
- Save Settings: Review your settings and save them. The router will reboot.
Step 3: Finalize Setup and Connect Devices
Connect Your Devices
- Reconnect to the New Network: Once the router has rebooted, connect your devices to the new SSID using the new password.
- Test the Connection: Ensure your devices can access the internet.
Optimize Your Network
- Firmware Update: Check for any firmware updates through the router’s web interface and install them to ensure you have the latest features and security patches.
- Adjust Channel Settings: If you experience interference, adjust the channel settings in the wireless settings menu.
- Guest Network: Set up a guest network for visitors to keep your main network secure.
Troubleshooting Tips
No Internet Connection
- Ensure all cables are securely connected.
- Reboot your modem and router.
- Verify your internet connection settings with your ISP.
Weak Wi-Fi Signal
- Reposition the router to a more central location.
- Avoid placing the router near large metal objects or other electronics that may cause interference.
- Consider adding a Wi-Fi extender if you have a large area to cover.
Forgotten Password
- If you forget your router’s password, you can reset the router to factory settings by pressing and holding the reset button for 10 seconds.
By following these steps, your Wavlink AC1200 manual should be up and running, providing you with reliable and fast internet throughout your home or office. Enjoy the enhanced connectivity and convenience that this powerful router offers!
For more detailed information, refer to the Wavlink AC1200 user manual or visit the Wavlink support page.


Leave a comment