Welcome to Network Tech Blog! Today, we’ll walk you through the MSRM US754 WiFi Extender setup process. The MSRM US754 is a popular choice for extending your WiFi coverage, ensuring that every corner of your home or office gets a strong, reliable signal. Follow these step-by-step instructions to get your WiFi extender up and running quickly.
Step 1: Unbox Your MSRM US754 WiFi Extender
Begin by unboxing your new MSRM US754 WiFi Extender. Inside the box, you should find:
- The WiFi extender unit
- A quick start guide
- An Ethernet cable (optional use)
Make sure all items are present before you start the setup process.
Step 2: Plug in the Extender
Plug your MSRM US754 WiFi Extender into an electrical outlet halfway between your router and the area where you need better WiFi coverage. The extender should be within the range of your existing WiFi network for the setup to work correctly.
Step 3: Power On and Reset (if necessary)
Power on the extender by pressing the power button if it doesn’t turn on automatically. If the extender has been used before or you encounter issues, you may need to reset it. To reset, use a pin to press and hold the reset button (usually located on the side or back of the unit) for about 10 seconds until the LED indicators start flashing.
Step 4: Connect to the Extender
You can connect to the MSRM US754 WiFi Extender using a PC, laptop, or mobile device. Look for the extender’s SSID (network name) in your device’s WiFi settings. It will usually be something like “MSRM_XXXX”. Connect to this network.
Step 5: Open the Setup Wizard
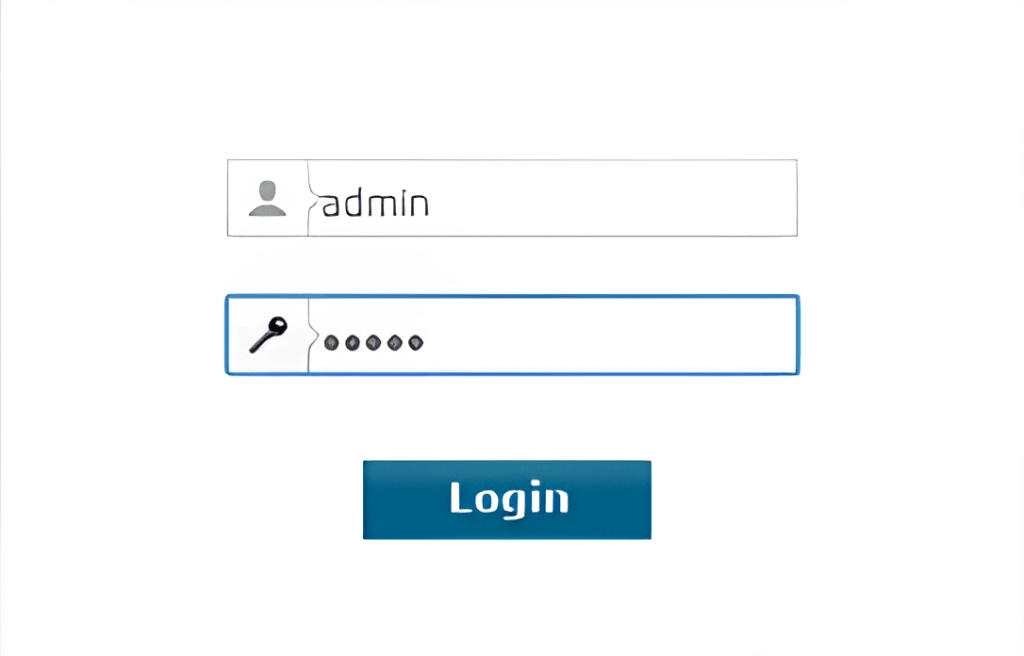
Once connected, open a web browser and enter “http://192.168.10.1” into the address bar. This will take you to the extender’s web-based setup page. You may be prompted to log in; the default username and password are both “admin”.
Step 6: Configure the Extender
Follow the on-screen instructions in the setup wizard:
- Select your language preference.
- Choose the “Repeater” mode.
- The extender will scan for available WiFi networks. Select your main WiFi network from the list.
- Enter the password for your main WiFi network.
The extender will then configure itself to extend your existing WiFi network. This may take a few minutes.
Step 7: Reconnect to Your Extended Network
Once the setup is complete, the extender will reboot. After it reboots, disconnect from the extender’s setup network and reconnect to your main WiFi network, which should now have extended coverage. The extended network may have the same name as your original network or a slightly modified name (e.g., YourNetwork_EXT).
Step 8: Test the Connection
To ensure that your MSRM US754 WiFi Extender setup is successful, move to an area that previously had weak WiFi coverage and test the connection. You should notice a significant improvement in signal strength and internet speed.
Troubleshooting Tips
- If you have trouble accessing the setup page, make sure your device is connected to the extender’s network and try using a different browser.
- If the extender fails to connect to your main WiFi network, double-check the password you entered.
- Reset the extender and start the setup process again if you encounter persistent issues.
Conclusion
Congratulations! You have successfully completed the MSRM US754 WiFi Extender setup. By following these step-by-step instructions, you can enjoy improved WiFi coverage throughout your home or office. For more network setup guides and tech tips, stay tuned to Network Tech Blog.


Leave a comment