Accessing the IP address 192.168.188.1 is a common task for managing network settings, particularly for routers and network devices. In this guide, we’ll walk through the step-by-step process of accessing, and login 192.168.188.1 to configure network settings or troubleshoot issues.
Write a 192.168.188.1 login setup?
To set up a login page using the IP address 192.168.188.1, you’ll typically need to configure a router or network device with login authentication settings. Here’s a stepwise guide:
- Access Router Settings: Open a web browser on a device connected to the network with the IP address 192.168.188.1. Enter “http://192.168.188.1” into the address bar and press Enter.
- Login to Router Interface: You’ll be prompted to enter a username and password to access the router’s settings. Enter the default username and password for your router (consult the router’s documentation) or the custom credentials if you’ve changed them previously.
- Navigate to Login Settings: Once logged in, navigate to the settings related to login authentication or access control. This may be located under a section like “Security,” “Access Control,” or “Admin Settings,” depending on your router model.
- Enable Login Authentication: Locate the option to enable login authentication or set up a login page. This may involve enabling a feature like “User Authentication,” “Captive Portal,” or “Login Page.”
- Configure Login Page: Set up the login page by entering the desired login message, logo, and other customization options. Specify whether users need to enter a username and password or just a password to access the network.
- Create User Accounts (Optional): If you want to require users to enter a username and password, create user accounts with unique credentials. Some routers may have built-in user management features for this purpose.
- Save Settings: After configuring the login settings and login page, save your changes. This may involve clicking a “Save” or “Apply” button at the bottom of the settings page.
- Test Login Page: Open a web browser on a device connected to the network and try accessing any website. You should be redirected to the login page configured on the router. Enter the appropriate login credentials to access the internet.
- Logout (Optional): If you’re logged into the router’s settings interface, remember to log out for security purposes. Look for a “Logout” or “Sign Out” option within the router’s interface.
- Finalize Configuration: Once you’ve confirmed that the login page is working as expected, finalize the router configuration. Review other settings as needed and make any additional adjustments.
How to Access 192.168.188.1?
Accessing the IP address 192.168.188.1 is a common task for managing network settings, particularly for routers and network devices. In this guide, we’ll walk through the step-by-step process of accessing 192.168.188.1 to configure network settings or troubleshoot issues.
Step 1: Connect to the Network
Ensure that your device is connected to the network associated with the IP address 192.168.188.1. This typically involves connecting your computer or mobile device to the same Wi-Fi network as the router or network device.
Step 2: Open a Web Browser
Launch a web browser on your device. This can be any web browser such as Google Chrome, Mozilla Firefox, Microsoft Edge, or Safari.
Step 3: Enter the IP Address
In the address bar of your web browser, type “http://192.168.188.1” (without the quotation marks) and press Enter. This will attempt to connect to the device associated with the IP address 192.168.188.1.
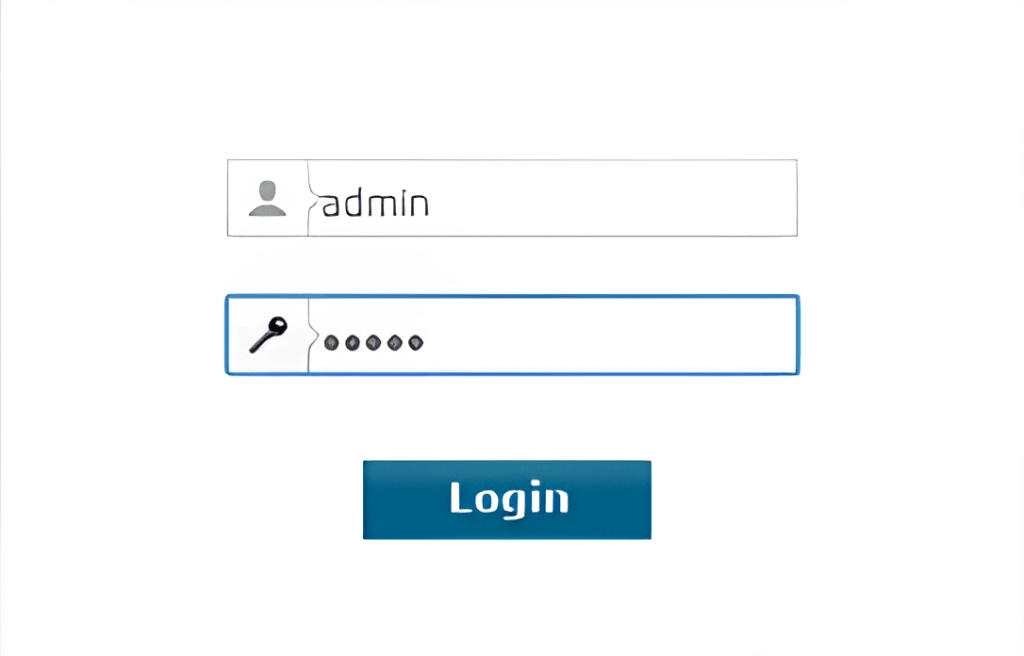
Step 4: Enter Login Credentials
You may be prompted to enter a username and password to access the device’s settings. If you’re accessing a router, the default login credentials are often provided on the router itself or in the router’s documentation. Enter the username and password and click “Login” or press Enter.
Step 5: Access Device Settings
Once logged in, you’ll typically be presented with a dashboard or settings interface where you can configure various network settings. Depending on the device, you may have options to manage Wi-Fi settings, security settings, DHCP settings, and more.
Step 6: Make Configuration Changes (Optional)
If you need to make changes to the device’s settings, navigate to the appropriate section of the settings interface and make the desired changes. Be cautious when making changes, as incorrect settings could disrupt your network connectivity.
Step 7: Save Changes
After making any configuration changes, remember to save your changes by clicking “Save” or “Apply” within the settings interface. This ensures that your changes take effect.
Step 8: Log Out (Optional)
For security purposes, consider logging out of the device’s settings interface once you’ve finished making changes. Look for a “Logout” or “Sign Out” option within the interface and click it to log out.
192.168.188.1 admin login
Introduction:
In the realm of networking, the IP address 192.168.188.1 holds significant importance as it serves as the gateway to configuring and managing various network settings. In this blog, we’ll delve into the world of 192.168.188.1 admin login, exploring its significance and providing a comprehensive guide on how to access and navigate its admin interface.
Understanding 192.168.188.1:
The IP address 192.168.188.1 is part of the private IP address range commonly used for local area networks (LANs). As the default gateway for many routers and network devices, it acts as the entry point for accessing device settings and configurations.
Accessing the Admin Interface:
To access the admin interface associated with 192.168.188.1, follow these simple steps:
- Connect to the Network: Ensure that your device is connected to the same network as the device with the IP address 192.168.188.1.
- Open a Web Browser: Launch a web browser on your device, such as Google Chrome, Mozilla Firefox, or Microsoft Edge.
- Enter the IP Address: In the address bar of your web browser, type “http://192.168.188.1” (without quotes) and press Enter.
- Enter Login Credentials: You may be prompted to enter a username and password to access the admin interface. Refer to the device’s documentation or check for default login credentials provided by the manufacturer.
- Navigate the Admin Interface: Once logged in, you’ll have access to the device’s admin interface, where you can configure network settings, security settings, DHCP settings, and more.
Key Features and Settings:
Within the admin interface of 192.168.188.1, you’ll encounter various features and settings, including:
- Network Configuration: Manage Wi-Fi settings, LAN settings, and WAN settings to optimize network performance.
- Security Settings: Set up firewall rules, configure port forwarding, and enable encryption protocols to enhance network security.
- DHCP Settings: Customize DHCP server settings to allocate IP addresses dynamically to devices on the network.
- Firmware Updates: Check for and install firmware updates to ensure your device is running the latest software version.
Best Practices and Considerations:
When accessing the admin interface of 192.168.188.1, keep the following best practices in mind:
- Change Default Passwords: Replace default login credentials with strong, unique passwords to prevent unauthorized access.
- Regularly Update Firmware: Stay vigilant about firmware updates to patch security vulnerabilities and ensure optimal device performance.
- Backup Configurations: Periodically backup your device configurations to safeguard against data loss or configuration errors.
Conclusion:
192.168.188.1 admin login opens the door to a world of network customization and management, empowering users to tailor their network settings to suit their needs. By following this guide and exercising best practices, you can confidently navigate the admin interface and unlock the full potential of your network infrastructure.


Leave a comment