In the realm of networking and internet connectivity, routers serve as the backbone, facilitating seamless communication between devices and the internet. Behind the scenes, these devices are equipped with a plethora of settings and configurations that can be accessed and customized to suit your specific needs. One essential aspect of router management is accessing its admin panel, and for many routers, the gateway to this panel is the IP address 192.168.188.1.
What is 192.168.188.1?
192.168.188.1 is a private IP address commonly used as the default gateway for routers manufactured by various brands. It serves as an entry point to the router’s administrative interface, where users can configure network settings, security options, and more. Accessing this IP address opens the door to a wealth of customization options, empowering users to optimize their network performance and security.
How to Access 192.168.188.1?
To access your router’s admin panel via 192.168.188.1, follow these simple steps:
Connect to Your Router: Ensure that your device is connected to the same network as your router, either via Wi-Fi or Ethernet cable.
Open a Web Browser: Launch a web browser of your choice, such as Chrome, Firefox, or Safari.
Enter the IP Address: In the address bar of your web browser, type http://192.168.188.1 and press Enter.
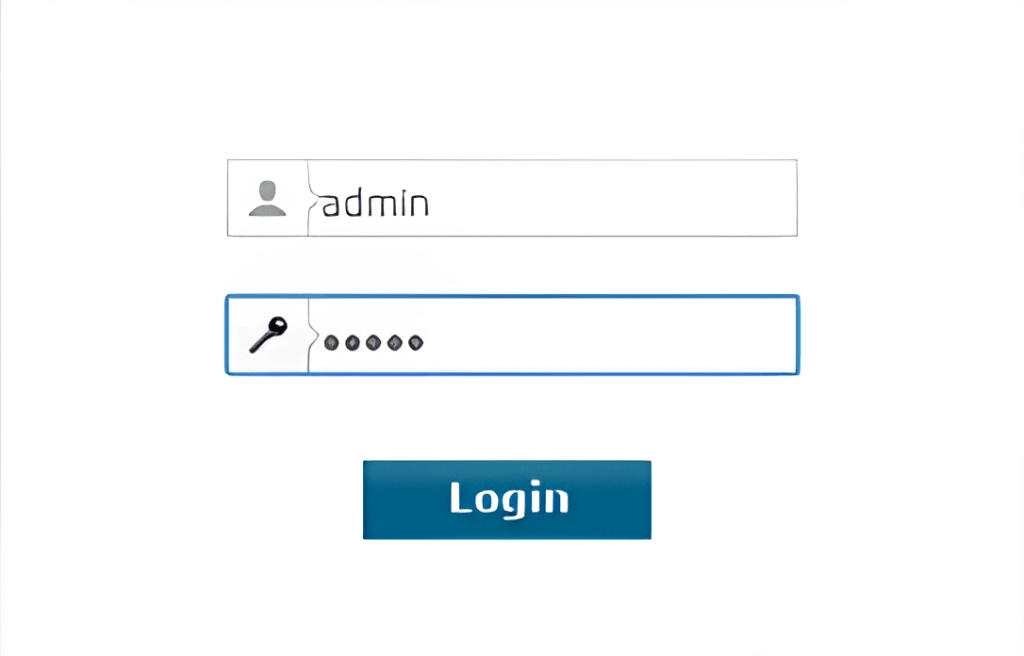
Login to the Admin Panel: You will be prompted to enter your router’s username and password. If you haven’t changed these credentials before, check the router’s manual or look for default login details provided by the manufacturer.
Explore Router Settings: Once logged in, you’ll have access to the router’s dashboard, where you can navigate through various settings categories like Network, Wireless, Security, and more.
How to Change Your Local IP Address?
While accessing the router’s admin panel via 192.168.188.1, you may also have the option to modify your device’s local IP address. Here’s how you can do it:
Navigate to LAN Settings: Within the router’s admin interface, locate the LAN or Network Settings section.
Locate DHCP Settings: Look for options related to DHCP (Dynamic Host Configuration Protocol), which manages IP address assignment on your network.
Disable DHCP: To assign a static IP address, you may need to disable DHCP. Consult your router’s manual or online resources for specific instructions.
Assign a New IP Address: Once DHCP is disabled, you can manually assign a new IP address to your device within the same subnet as your router (e.g., 192.168.188.x).
Save Changes: After entering the desired IP address, save your settings and reboot the router if necessary.
Conclusion
192.168.188.1 serves as a gateway to your router’s configuration options, providing you with the tools to customize your network according to your preferences. By learning how to access and navigate the router’s admin panel, as well as how to change your local IP address, you can take control of your network and optimize its performance with ease.


Leave a comment