In today’s world, a stable and reliable internet connection is more than a luxury; it’s a necessity. Whether you’re working from home, streaming movies, or gaming online, having a strong Wi-Fi signal throughout your house is crucial. Unfortunately, not every corner of your home may be within reach of your router’s signal. This is where a Wi-Fi range extender like the Linksys RE6300 can make all the difference.
In this blog, we’ll delve into the setup process of the Linksys RE6300 to help you boost your home network’s coverage and ensure a seamless internet experience for all your devices.
Why Choose Linksys RE6300?
Before we jump into the setup process, let’s take a moment to understand why the Linksys RE6300 is a popular choice for extending Wi-Fi coverage:
Dual-Band Connectivity: The RE6300 operates on both 2.4 GHz and 5 GHz bands, providing flexibility and optimal performance for various devices.
Fast Ethernet Ports: Equipped with Gigabit Ethernet ports, the RE6300 allows you to establish wired connections for devices like gaming consoles or smart TVs, ensuring a stable connection for bandwidth-intensive activities.
Easy Setup: Linksys products are known for their user-friendly setup processes, making it accessible for both tech-savvy users and beginners.
Setting Up Your Linksys RE6300
Now, let’s know how to perform Linksys RE6300 Setup efficiently:
Step 1: Placement
Choose a central location between your router and the area where you need the extended Wi-Fi coverage. Avoid placing the extender too far from the router or in areas with significant obstructions like walls or large furniture.
Step 2: Power On
Plug in the RE6300 into a power outlet and wait for the LED indicator to blink orange. This indicates that the extender is starting up.
Step 3: Connect to the Extender
On your computer or mobile device, locate the Wi-Fi network named “Linksys Extender Setup” and connect to it. Once connected, open a web browser.
Step 4: Access the Setup Page
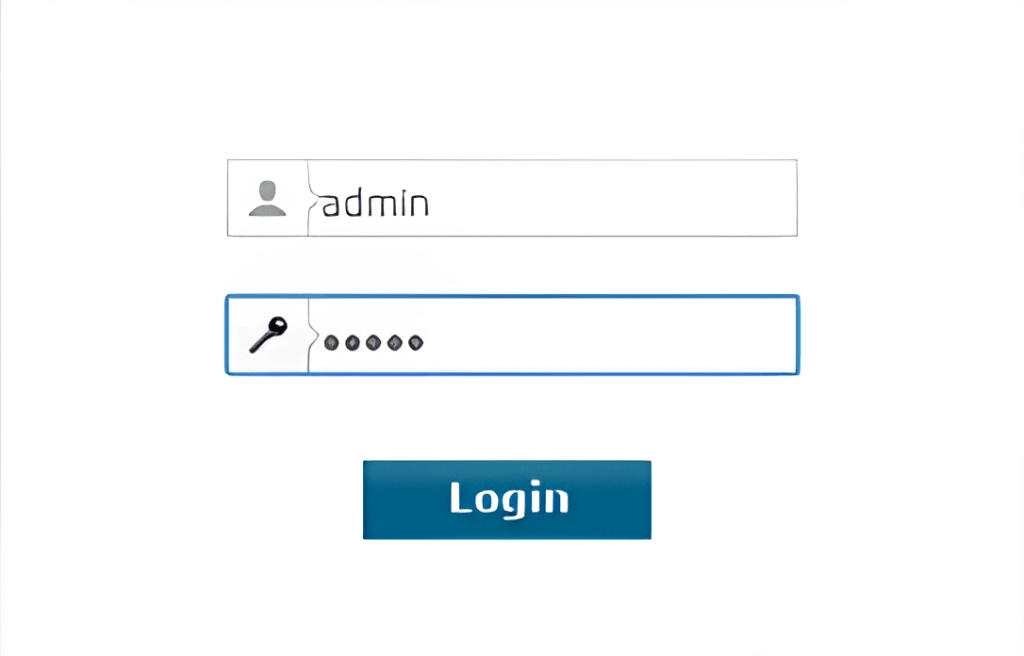
In your web browser, enter “http://extender.linksys.com” or the default IP address “192.168.1.1” in the address bar and press Enter. This will take you to the extender’s setup page.
Step 5: Configure the Extender
Follow the on-screen instructions to set up your extender. You’ll be prompted to select your home Wi-Fi network and enter the password. The extender will then establish a connection with your router.
Step 6: Positioning and Testing
Once the setup is complete, relocate the extender to your desired location within the optimal range of your router. Ensure that the LED indicator on the extender shows a solid green light, indicating a strong connection.
Step 7: Update Firmware (Optional)
Check for any firmware updates for your extender on the Linksys support website and follow the instructions to update if necessary. Firmware updates can improve performance and security.
Congratulations! You’ve successfully set up your Linksys RE6300 range extender, extending the reach of your Wi-Fi network and eliminating dead zones in your home.
Conclusion
In a world where connectivity is paramount, the Linksys RE6300 offers a simple yet effective solution to extend your Wi-Fi coverage and enhance your home network experience. By following the steps outlined in this guide, you can ensure a seamless setup process and enjoy uninterrupted internet access throughout your home.
Remember, proper placement of the extender plays a crucial role in maximizing its effectiveness, so take the time to find the optimal location for optimal coverage. Once Linksys RE6300 Setup is done effectively you can say goodbye to Wi-Fi dead zones and hello to a strong, reliable internet connection wherever you go in your home.


Leave a comment